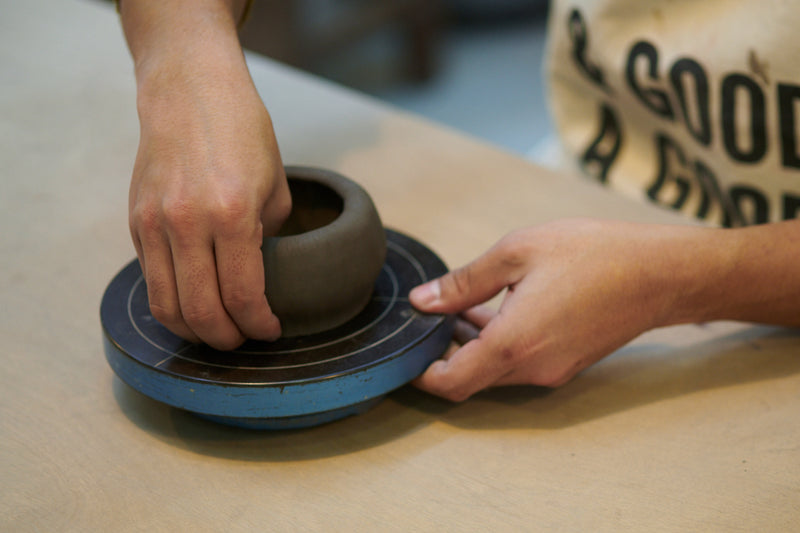
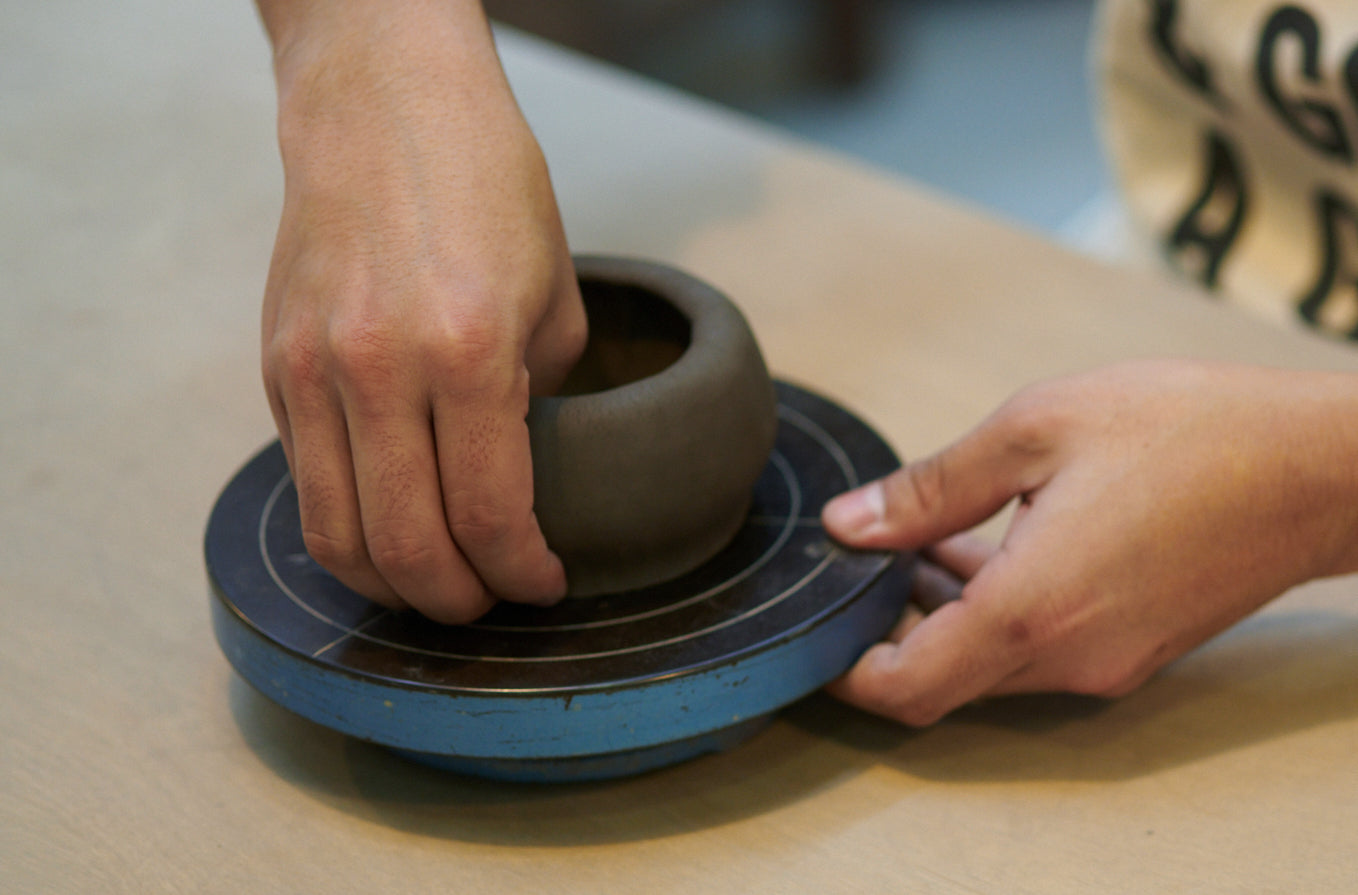
One of the great attractions of pottery, unlike other hobbies, is that you can create vessels and objects of your own design. Currently, pottery classes and workshops are increasing nationwide, and it seems that even beginners can easily experience it. Now, let's actually try making a unique item with a unique shape and color.
HANG OUT VOL.5 POTTERY
Let's live with homemade tableware.
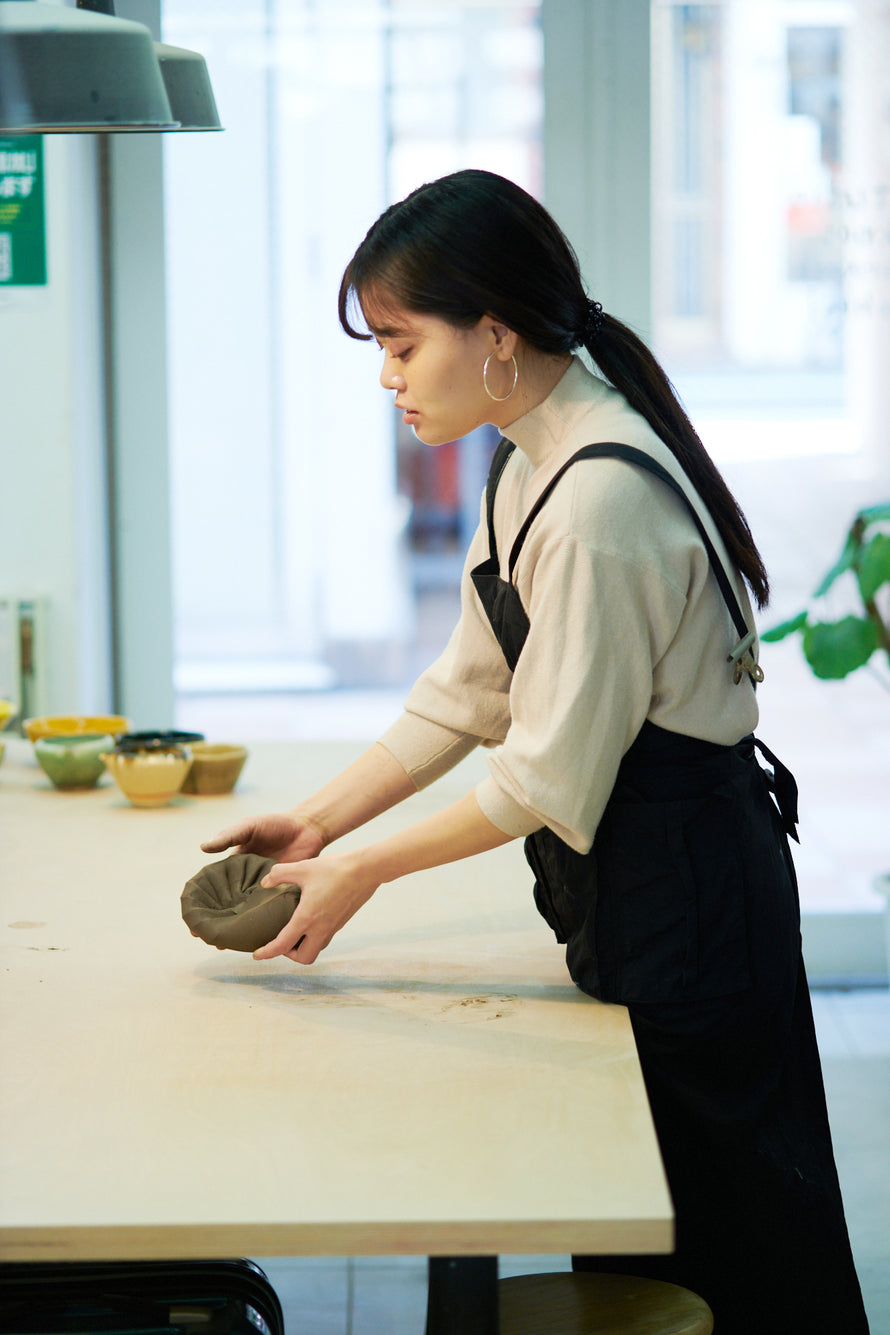
As digitalization advances, analogue work done by hand is now being reevaluated. Handicrafts in particular have a warmth and uniqueness that can only be achieved by hand, and more and more people seem to value them differently than mass-produced goods. Pottery, in particular, is a task that requires concentration. The process of shaping clay is attracting attention as a hobby that can reduce everyday stress and relax. By incorporating pottery into your life, you will not only enjoy the joy of making things, but you will also open up a new lifestyle. So, let's start pottery.
Chapter 02 | LET'S LIVE WITH YOUR OWN POTTERY.
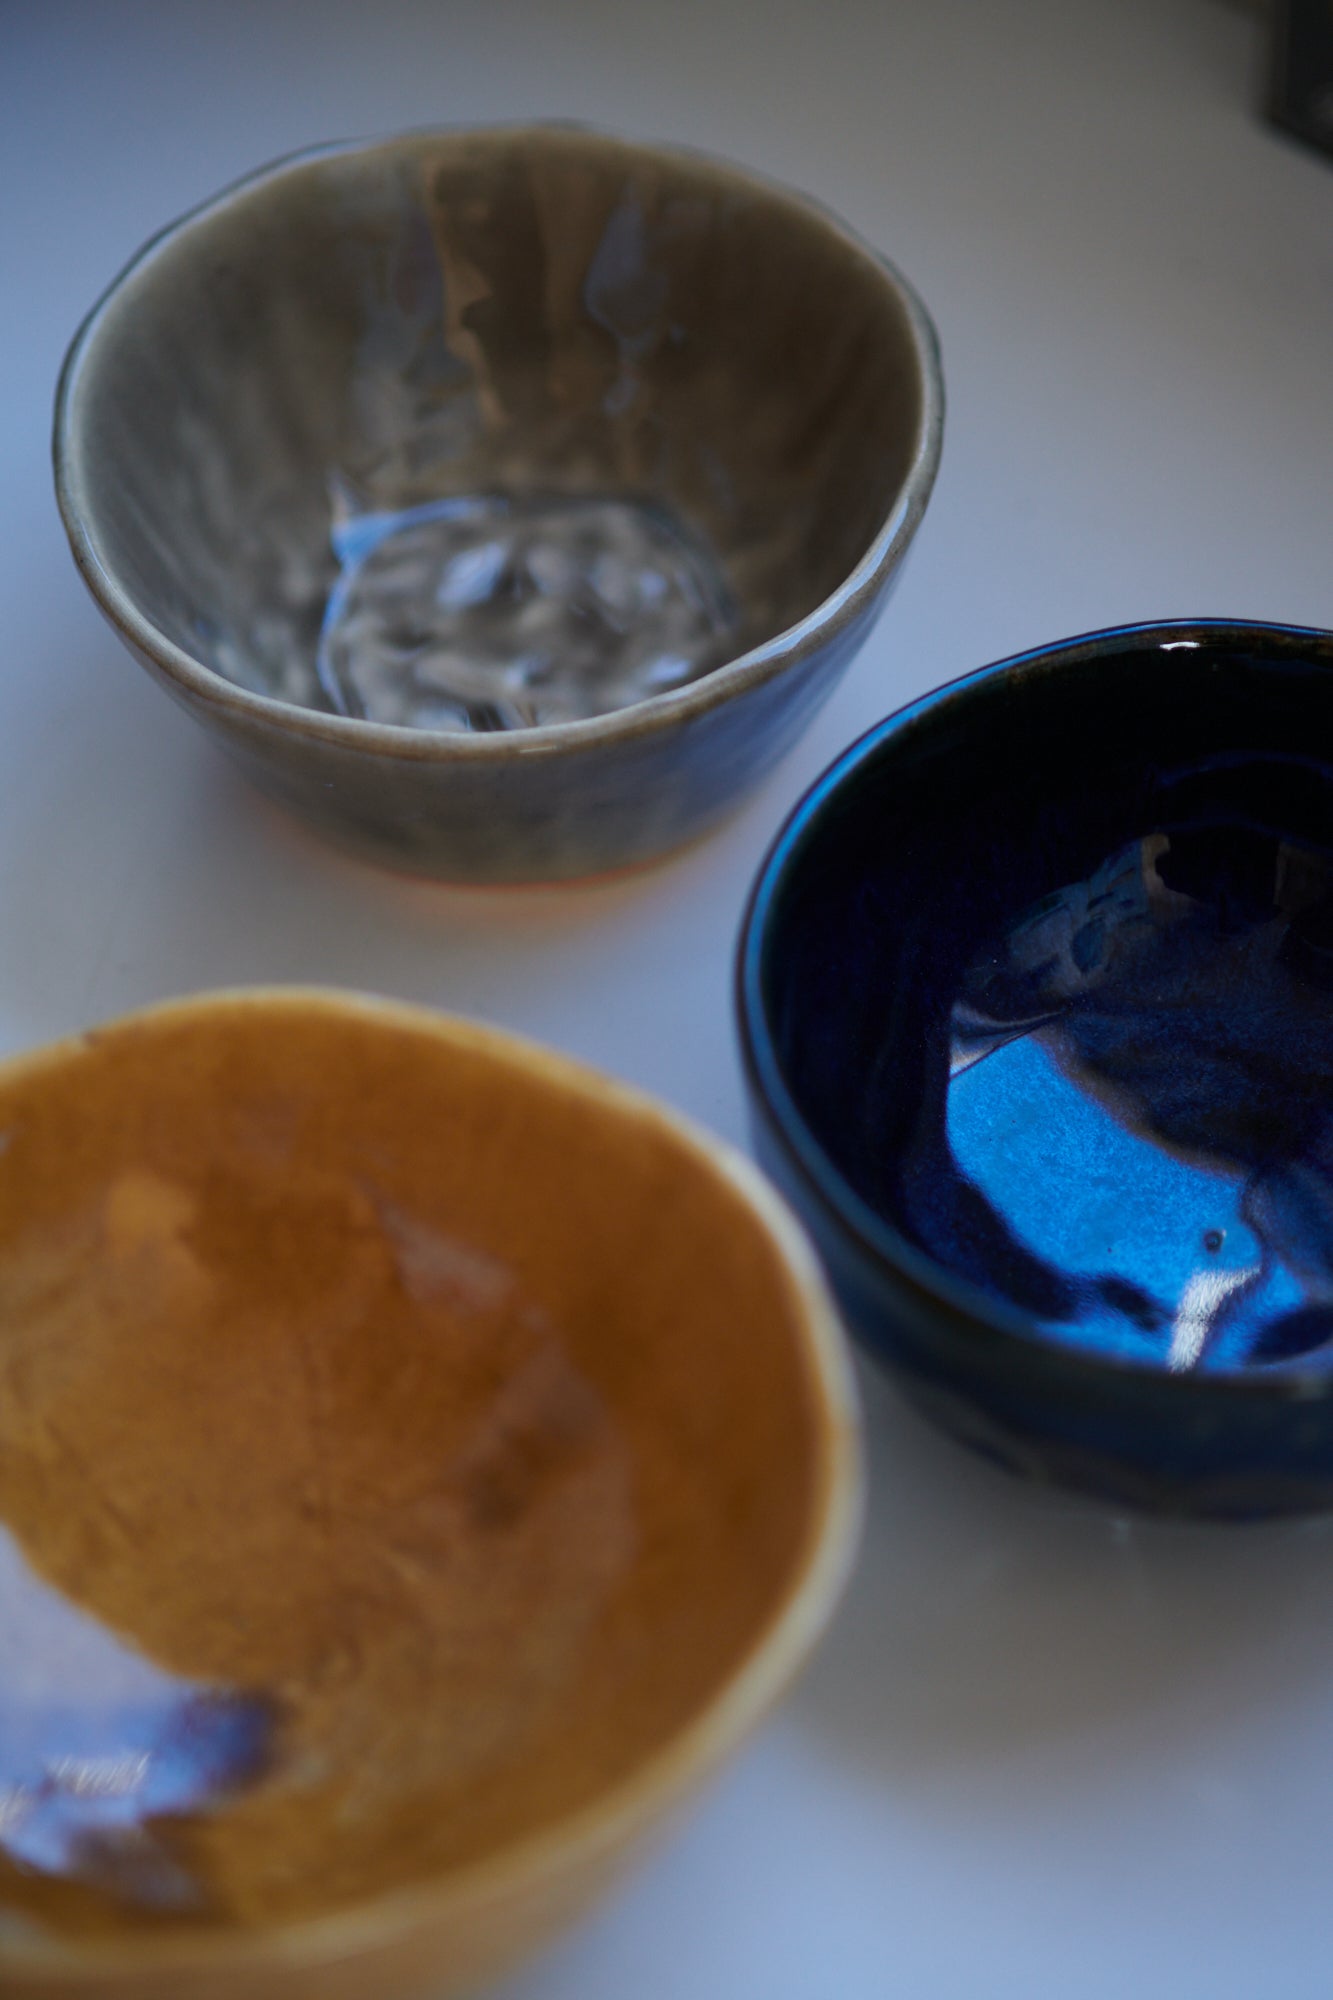
An original piece that is one of a kind in the world.
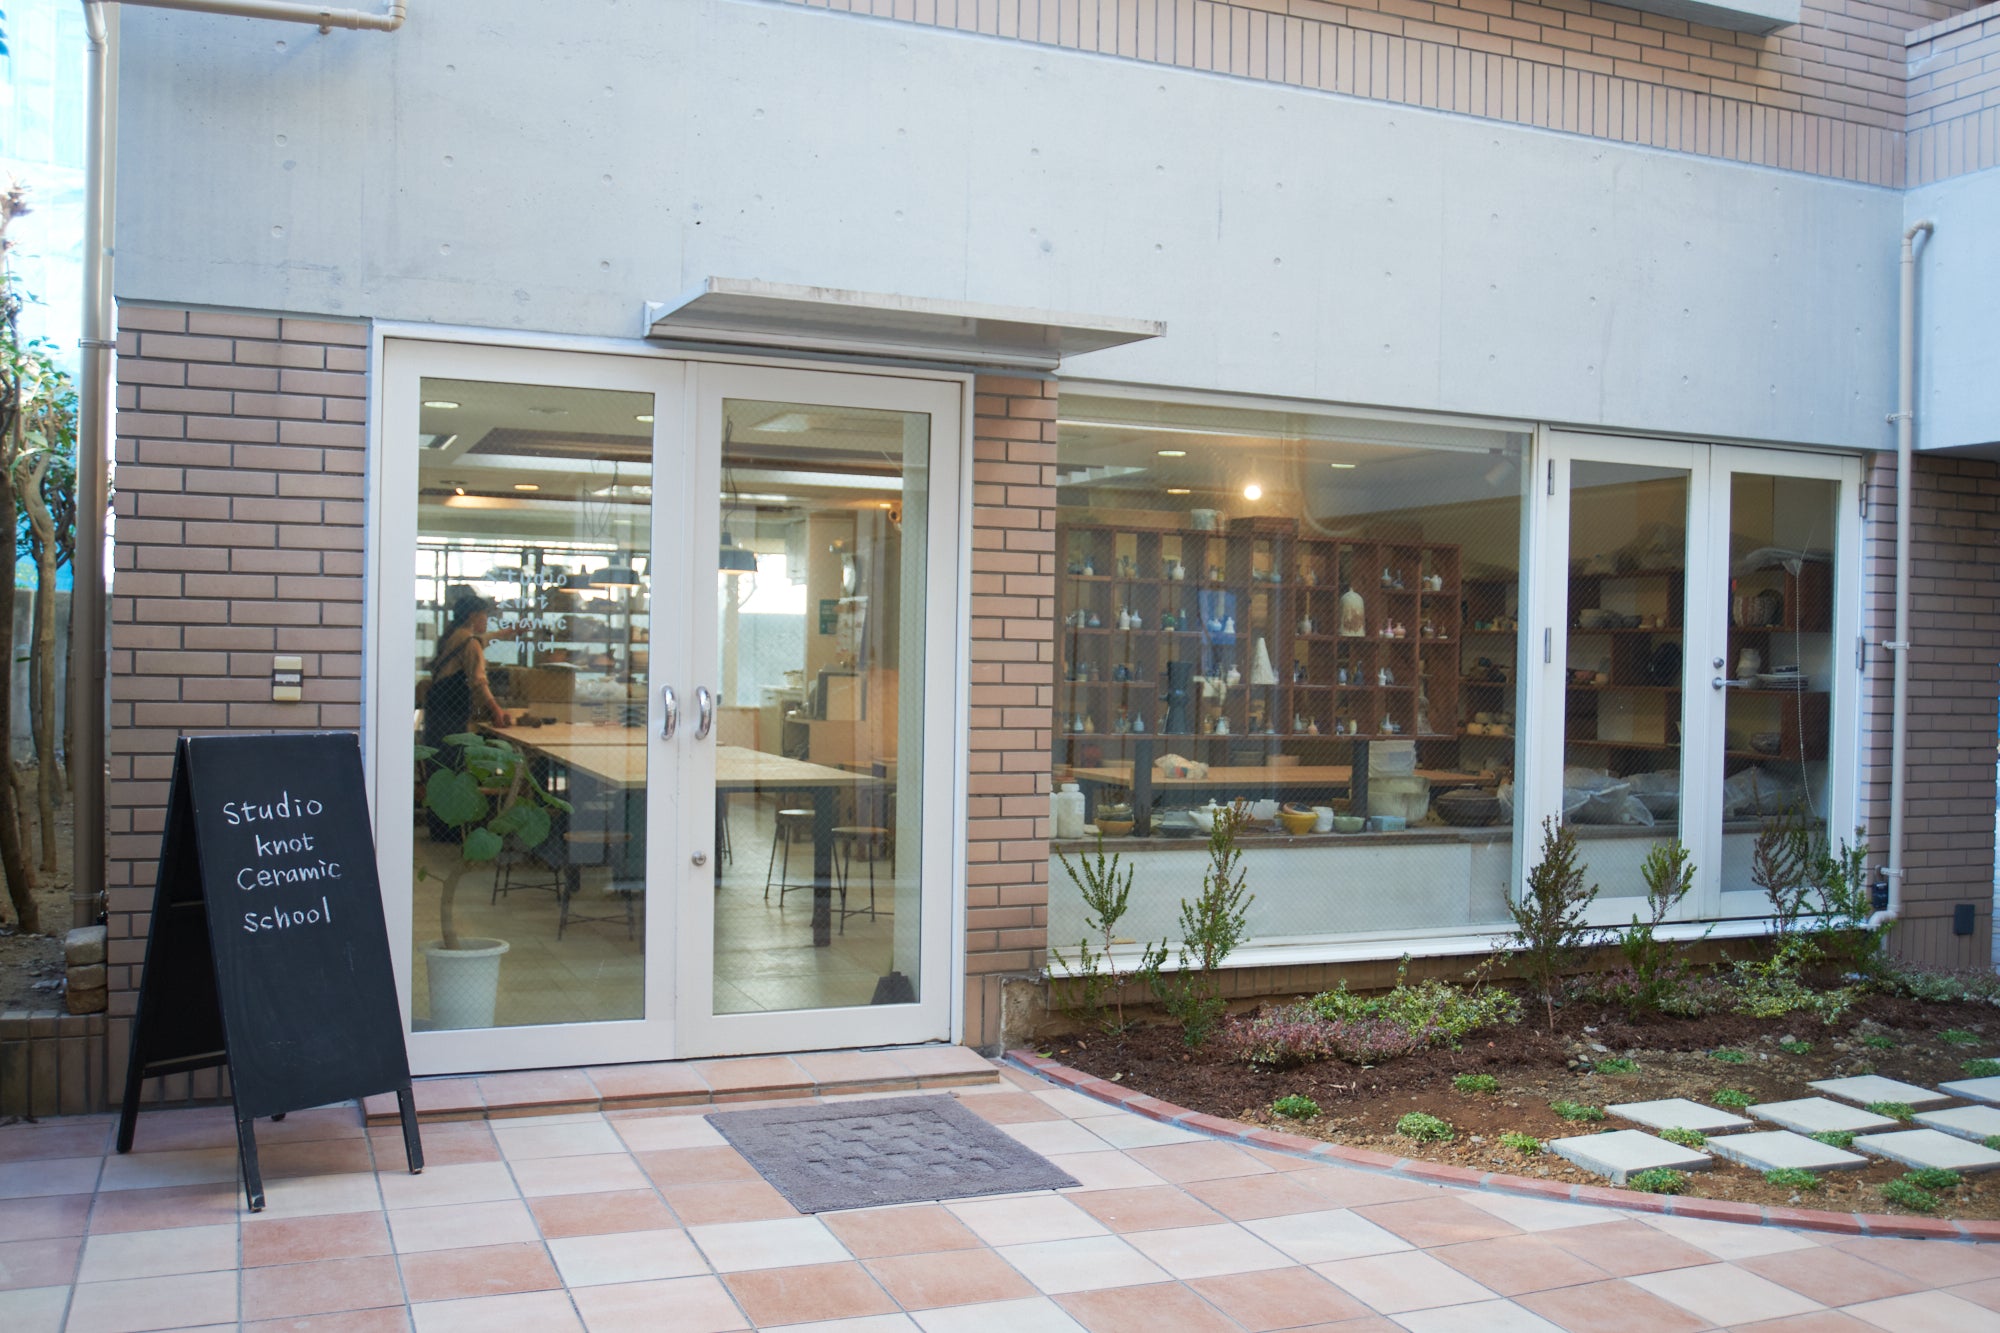
INFORMATION
Studio Knot Ceramics
The teacher who taught me this time
Hitomi Shimoji

After graduating from the Department of Crafts at Osaka University of Arts, he studied ceramics at Kasama Ceramic College in Ibaraki Prefecture and became a lecturer at Studio Knot Ceramics. At the same time, he continues to create his own ceramic works.

This article is available only to paid members
To read more
料金プラン
月額
¥440
(税込)
All articles are free to read. All content is free during the trial period.
Sign up and pay For members, click here